Connect an email service, check your public URL and sender, add yourself as a subscriber, then import, test, and send your campaign.
Listmonk manages your list and campaigns, but it cannot deliver email on its own. Choose a sending service first. Amazon SES is the cheapest as your list grows, though new accounts start in a sandbox that can send only to verified addresses; request production access early. Postmark has good inbox placement, and its broadcast stream is the one to use for newsletters. Brevo’s free plan is fine for a small list, but you need its SMTP key, not its API key. Whichever you choose, verify your sending domain using the DNS records the service provides.
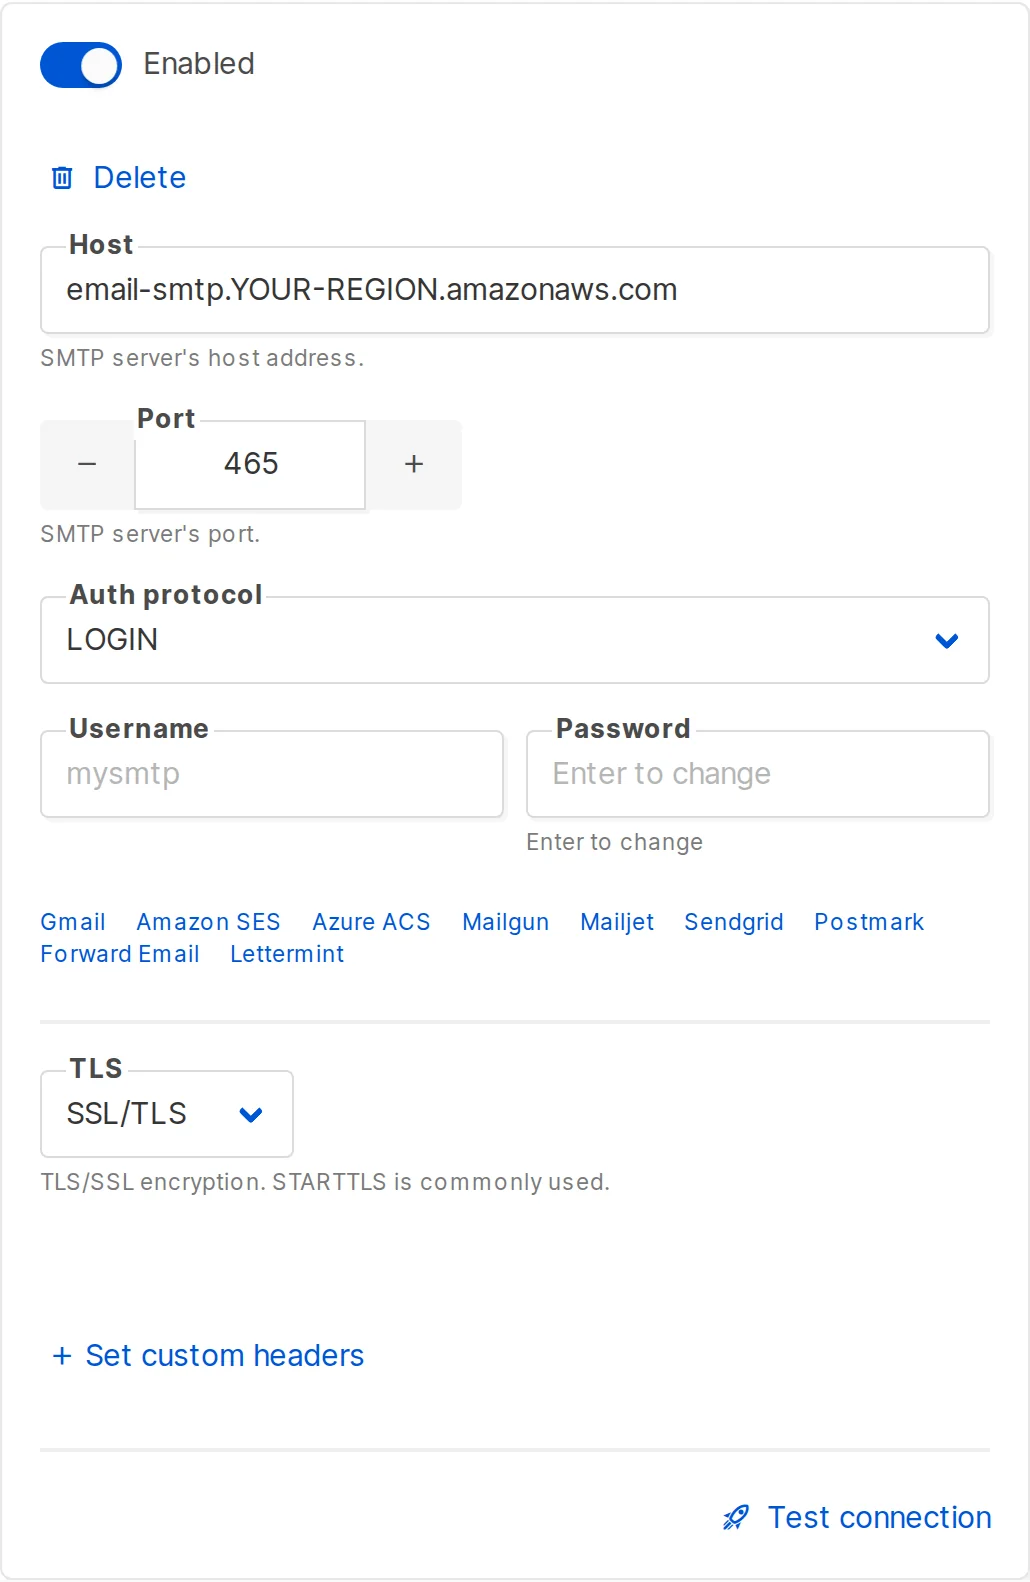
In Settings > SMTP, choose the SES or Postmark preset, or enter smtp-relay.brevo.com as the host for Brevo. Paste the SMTP username and password, then click Test connection. Use port 587 with STARTTLS or port 465 with SSL/TLS. A working connection does not lift SES’s sandbox restriction, so check that separately before sending to a real list.
Next, open Settings > General and check Root URL says the address in your browser bar, with no trailing slash. On a fresh install it says http://localhost:9000; left that way, unsubscribe links would point to localhost instead of your site. Set Default from email to an address on the domain you verified. A gmail.com sender tends to land in spam. Click Save.
Create your list under Lists with + New. If you choose Double opt-in, people receive a confirmation email before they can receive campaigns. Add yourself under Subscribers with + New, select that list, and tick Preconfirm subscriptions. You need to be on the list to test: Listmonk sends test messages only to subscribers. When we tried an address that was not subscribed, it returned “No known subscribers to test.”
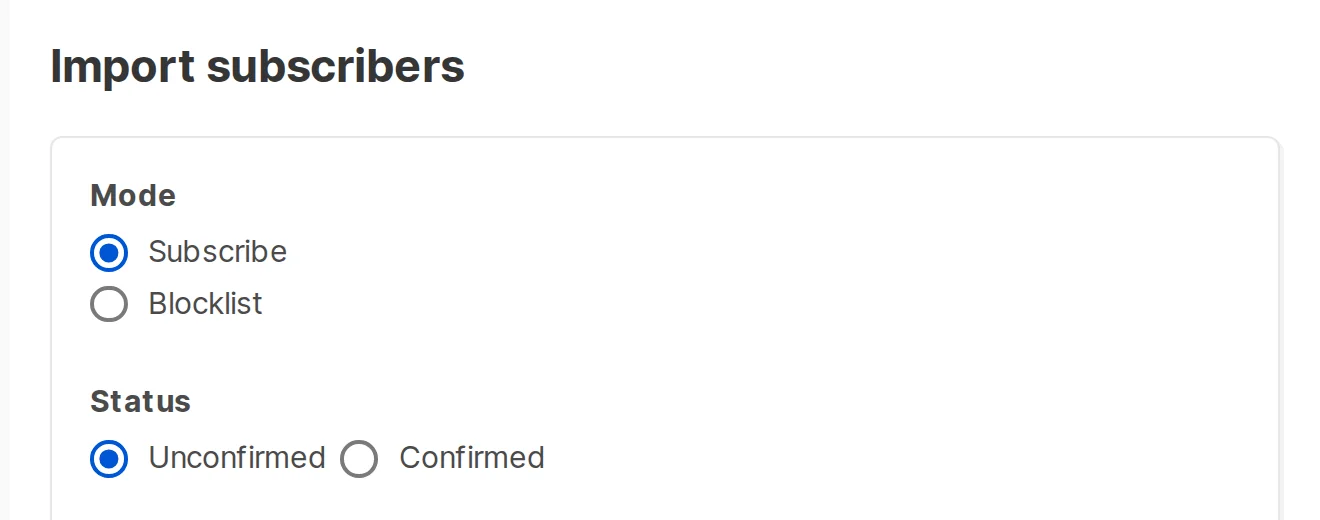
For an existing list, use Subscribers > Import with a CSV containing email and name columns. Check Status before importing: it starts as Unconfirmed. On a double opt-in list, those imported people will receive no campaigns until they confirm, even if the import succeeds. Set the status to match the consent you already have.
Go to Campaigns > Create new, enter a name and subject, select the list, and click Continue. Write the message and click Save changes. Back on the Campaign tab, type your address under Send test message, press Enter, then click Send. Check the email and its links before you click Start campaign. If it lands in spam, check your domain’s SPF and DKIM records against Google’s sender guidelines.
On Podway you can skip most of this clicking. Connect your Claude or Codex plan and the pod gets an AI admin: give it your email service's SMTP details and your CSV, and ask it to set up the list and send you a test. It does the Settings work above for you, and Listmonk runs on its own machine with HTTPS and nightly backups. Start Listmonk on Podway